

If you have previously read my Oracle APEX Blog post you may already have a fully automated Vagrant managed VirtualBox VM running an Oracle APEX 19.1 environment with Oracle 18xe database, Tomcat, Oracle REST Data Service, and Oracle cx_python.
If you want to start exploring APEX why not have a read and also check-out the code in my GitHub repository.
Background
In June I had the great pleasure of speaking in Bulgaria for the first time at the BGOUG summer conference. As with all popular international conferences there were some great speakers covering many topics. Being an APEX newbie I hunted down my good friend and fellow Oracle ACE Director Alex Nuijent for some APEX advice.
Thanks Alex for pointing in me in the right direction, I owe you a beer 🙂
Getting Started
Login to the APEX Admin console, if you are using my VM it will be: http://oraclexe:8080/ords/apex_admin
Setup Oracle Wallet
Click on ‘Manage Instance‘

Now, select ‘Instance Settings‘ in the Instance Settings section on the left hand side.

Click on ‘Wallet‘.

Now enter the path to your Oracle Wallet Path and Wallet Password, remember to include the file:// prefix and then hit ‘Apply Changes’
My Vagrant build creates my Oracle Wallet in $ORACLE_BASE/admin/XE/wallet.

Create APEX Workspace
We can now create an APEX workspace using the workspace wizard, you can find this in the top right corner.
Click on ‘Create Workspace’, provide Workspace Name and optional Workspace Description.

Provide Schema Name, Password and change Space Quota if required.

Now enter Administrator Username, Administrator Password and Email address.

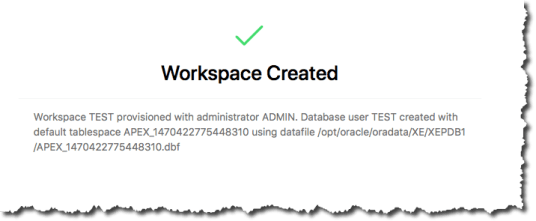
Check and click on ‘Create Workspace’.

If all went well, we should see a nice green tick and Workspace Created message.
Create APEX Application
Logon to our newly created Workspace using previously created credentials.

Select APEX ‘App Builder’

Select ‘Create a New App’


Select create an application from ‘New Application’

Provide ‘Name’ and amend any other settings as required and click ‘Create Application’

Create Web Source Module
To set-up an external Web Source navigate to ‘Shared Components’ and select ‘Web Source Modules’.


Click ‘Create’ and follow the Web Source Modules wizard.

As this is the first time, select ‘From scratch’.

Provide a meaningful Name and URL Endpoint.

Remote Server will be default to Create New as this is our first source, set Base URL and Service URL Path.

For this source No Authentication was required.
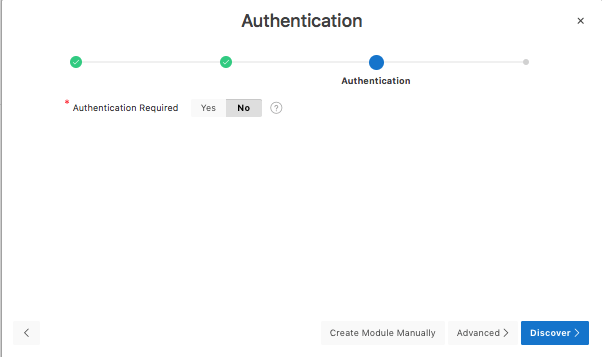

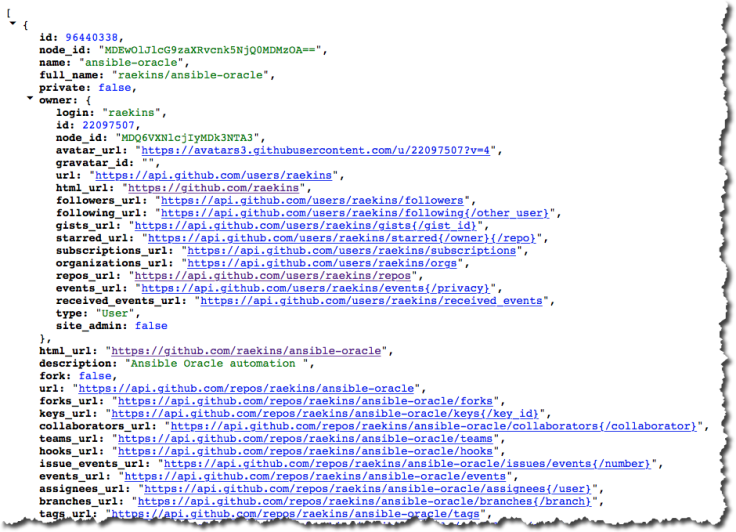
Click on ‘Discover’ to test your Web Source, if your Oracle Wallet has been configured correctly you should be presented with a table of results.

And to validate your APEX Web Source Module response you can always point your JSON enabled browser at the link. e.g. https://api.github.com/users/raekins/repos
Hope you found the above interesting, over the next few months I will provide further details of my APEX journey.
[twitter-follow screen_name=’RonEkins’ show_count=’yes’]
Leave a Reply