
")
If your like me, you may sometimes need to do some research work with Oracle HCC (Hybrid Columnar Compression), but don’t always have access to an Oracle Exadata machine or ZFS Appliance, then the ZFSA simulator may be your saviour.
On my Mac I use both VirtualBox and VMware Fusion, but for this Blog post I am going to be using VMware Fusion 8.5.10.
Downloading the OVA
You can download the Oracle Storage Appliance Simulator software by following the link here

Once you have accepted the licence agreement you will have the option to download either the VirtualBox or VMware version

Once the downloads is complete you should have an OS8.7VMware.ova file available to use.
Installing the Virtual Machine
From VMware Fusion navigate to File -> Import and select you OVA file using the ‘Choose File…’ finder.

Give the VM a name and start the import.

Once imported you will be presented with a summary screen, if you have spare memory you could consider increasing the allocated memory to 4GB by clicking on the ‘Customise Settings’ otherwise click ‘Finish’


Watch the console whilst the VM boots and once up provide a Host Name, DNS Domain name, IP Address, IP Netmask, Default Router and DNS Server as well as a Password for your ‘root’ Super-User.

Once the initial configuration is complete you can use your browser to configure your ZFS Storage Appliance simulator using the link in the console and the password you just provided.

Welcome
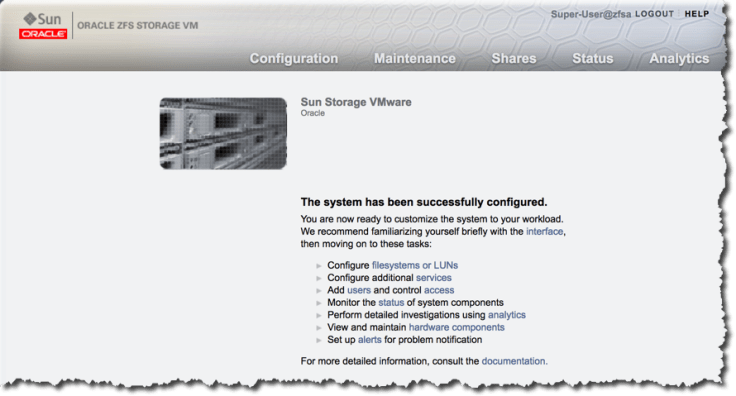
If all has gone well you should be presented with the Oracle ZFS Storage Virtual Machine ‘Welcome’ page, click ‘START’ to begin the configuration.
 Step 1
Hit ‘Commit’ to use default network configuration.

Step 2
Click ‘COMMIT’ to use the DNS values provide during the initial boot.

Step 3
Again, hit ‘COMMIT’ to use the default NTP settings.

Step 4
And finally, hit ‘COMMIT’, to take the default Name Services.

Step 5
We now set up out Storage Pool by clicking on the ‘+’


Select the most appropriate Storage Profile for your use, as I will only be using this on my MacBook Pro I will select ‘Striped’ as data protection is not a concern, but I want maximum Performance and Capacity.

The ZFS Appliance will now present a Storage Profile summary screen.

Registration & Support
Enter your MOS details or click ‘LATER’ if you prefer, and confirm.

We can now configure any required Services, LUNS and / or filesystems
NFS Filesystem

Click on the ‘+’ to create a new Filesystem (NFS Share), provide Name, User, Group and Permissions. e.g.


As I am going to be using this share for my Oracle 12c database I need to configure the storage to use the same block size as my database.
Select the ‘General’ tab to gain access the ‘default’ Project settings, and update the Database record size to 8K in the inherited properties section.

SNMP (Simple Network Management Profile)
As I plan to use the ZFS Storage VM to allow my Oracle 12c database to use HCC (Hybrid Columnar Compression) I will configure SNMP and Enable the service.
This can be found hidden away under ‘Configuration’ -> ‘Services’


The System Service should now show the SNMP service as Online.

In Part II I will share how our newly created NFS filesystem can be mounted on a Linux client via Oracle dNFS and used by an Oracle 12c database allowing HCC data management.
[twitter-follow screen_name=’RonEkins’ show_count=’yes’]